Goal
Save the text entered by the user via Text Input through an Interactive Dialog to a defined location.
Table of Contents
Prerequisites
-
KadiStudio is installed and running.
- See: Installation Guide
-
Tools are downloaded and available.
- See: in progress
-
You are familiar with Built-in Nodes and Environment Nodes.
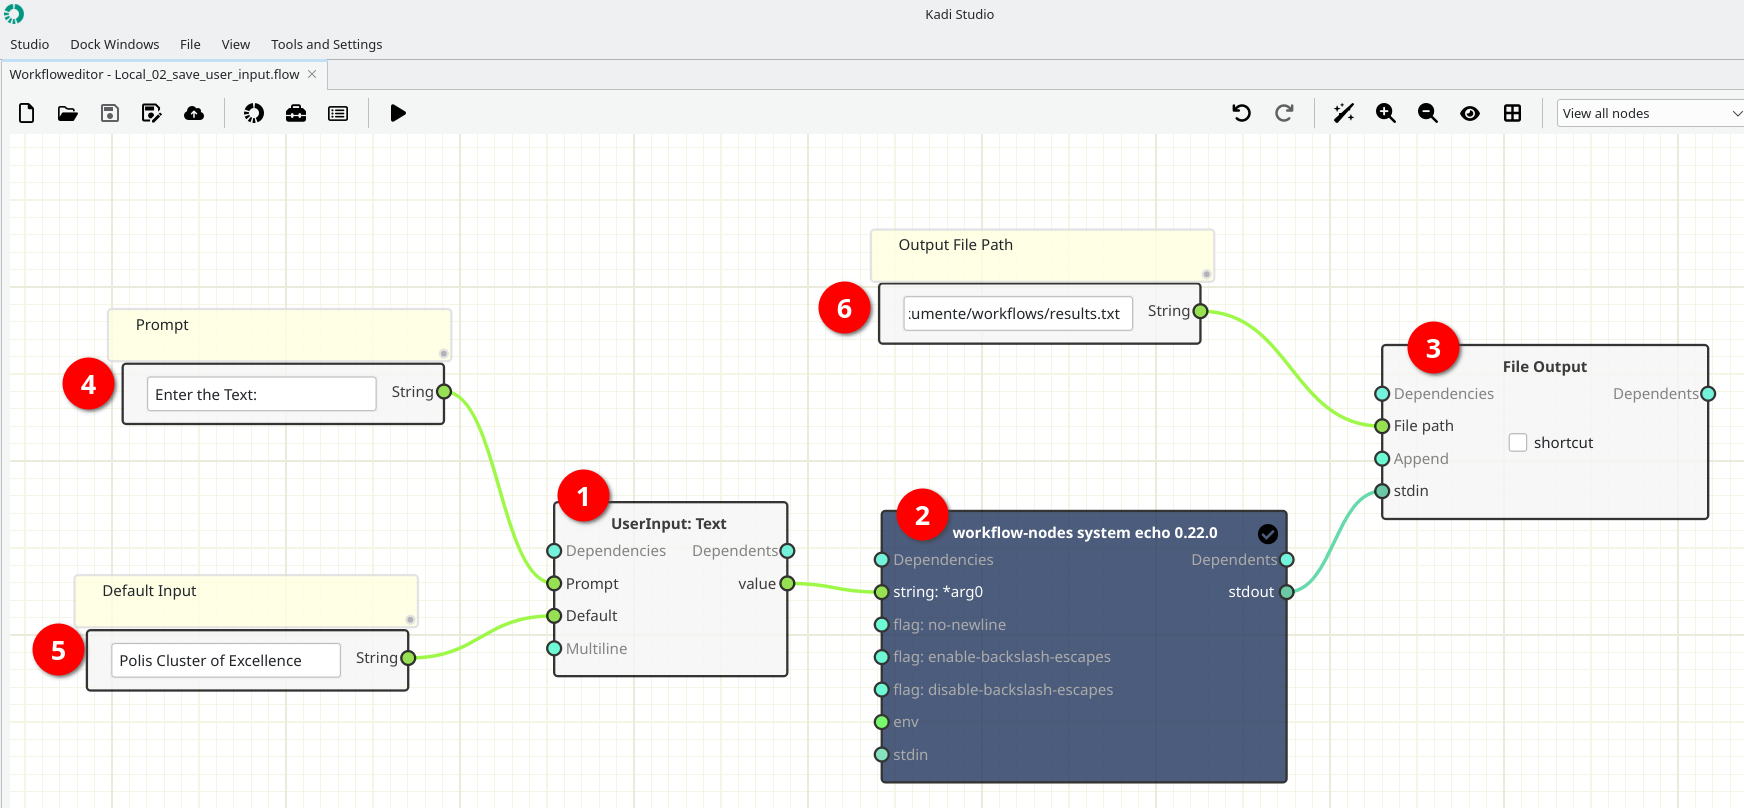
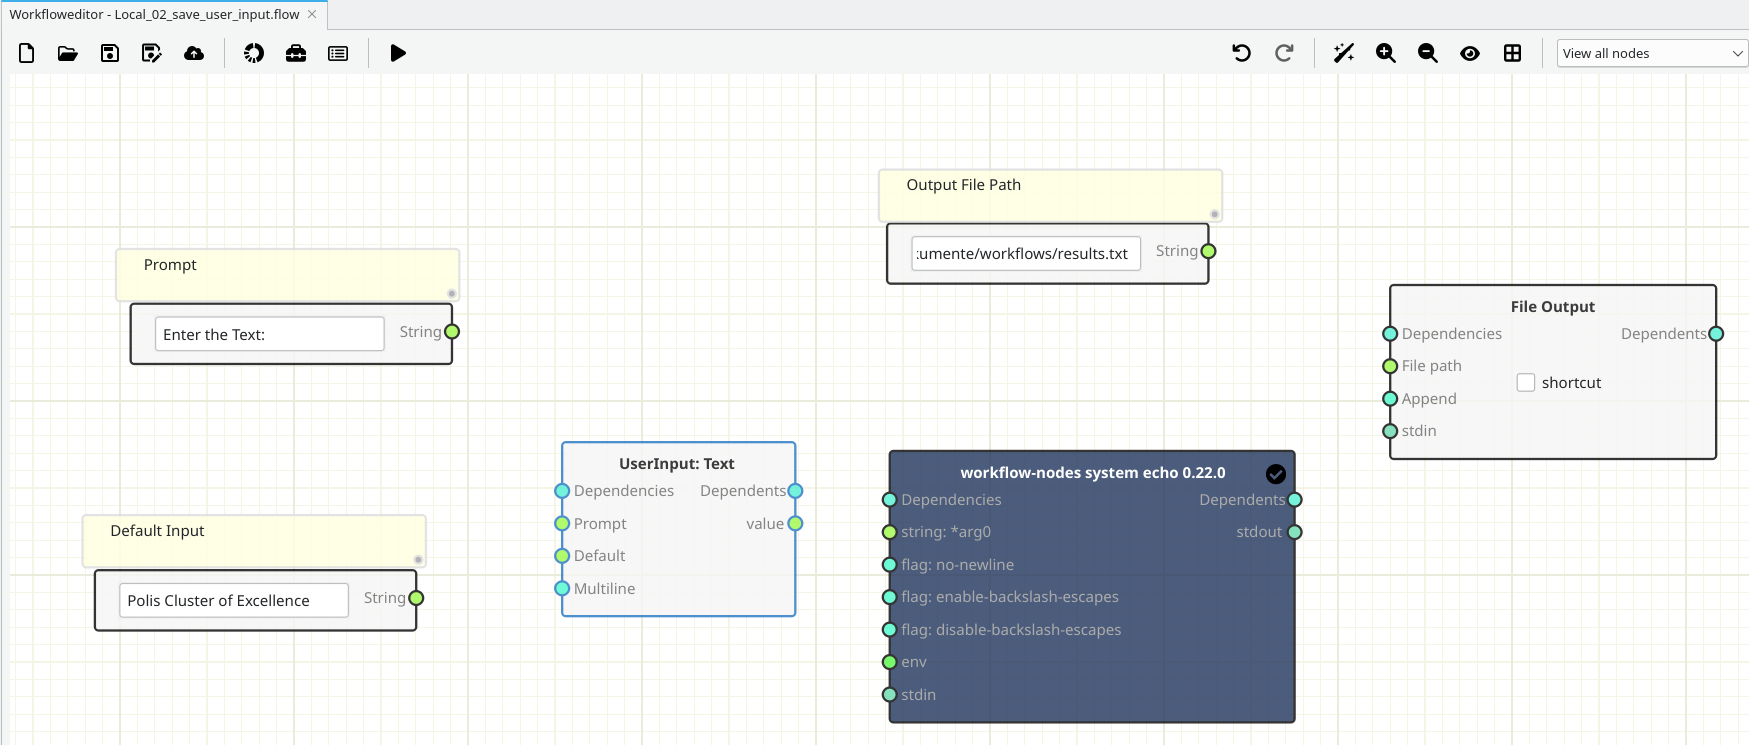
Final Workflow
The figure below shows the final layout of the workflow.
Creating and Filling out
1- [Node 1] - Add a UserInput: Text Node
-
How:
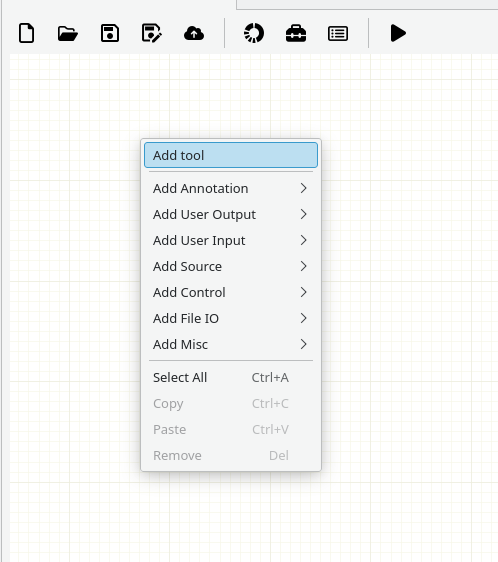
- In the workspace, right-click and select Add User Input → UserInputText (Built-in Node).
-
This node will allow the user to type text directly into the workflow.
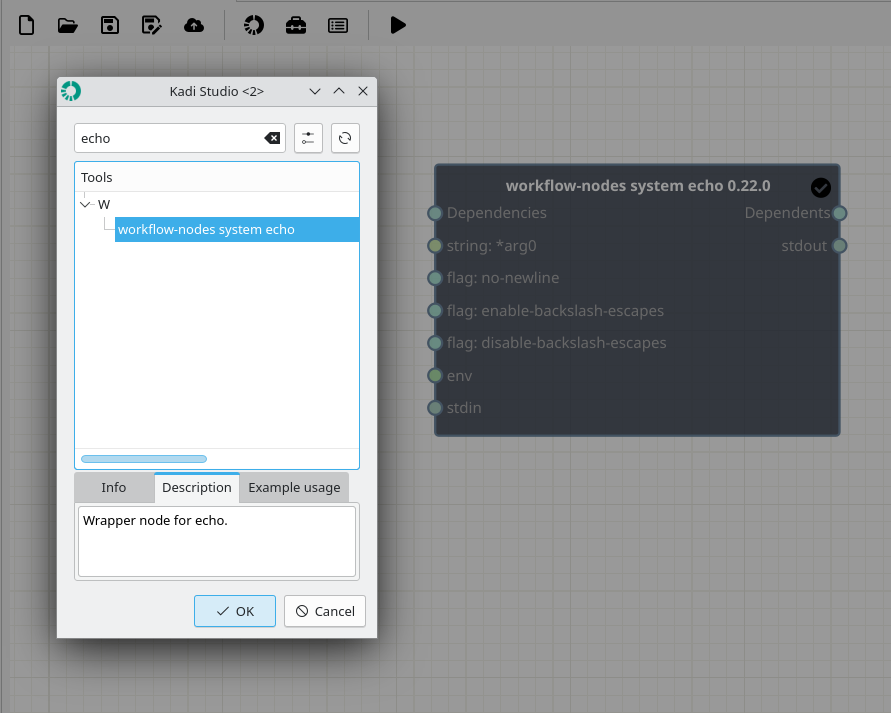
2- [Node 2] - Add a workflow-nodes system echo Node
-
Where to read more:
https://workflow-nodes.readthedocs.io/en/stable/usage/cli.html#workflow-nodes-system-echo
-
How:
- In the workspace, right-click and from Add tool (Top), search echo and select workflow-nodes system echo (Bottom).
3- [Node 3] - Add a File Output Node
-
How:
- In the workspace, right-click and select Add File IO → FileOutPut (Built-in Node).
4- [Nodes 4, 5, 6] - Add and fill out Source Nodes (Variables)
-
How:
- In the workspace, right-click and select Add Source → String (4, 5, 6).
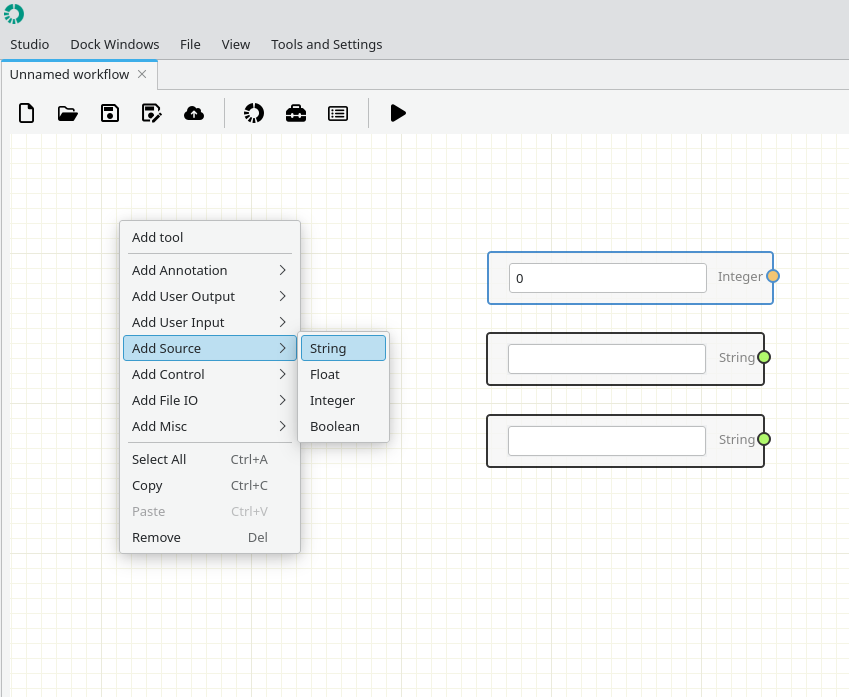
- Node 4 : Prompt (e.g., Enter the Text:)
- Node 5 : Default Input. (e.g., Polis Cluster of Excellence)
- Node 6 : Set Output File Path. (If the file does not exist, it will be created automatically.)
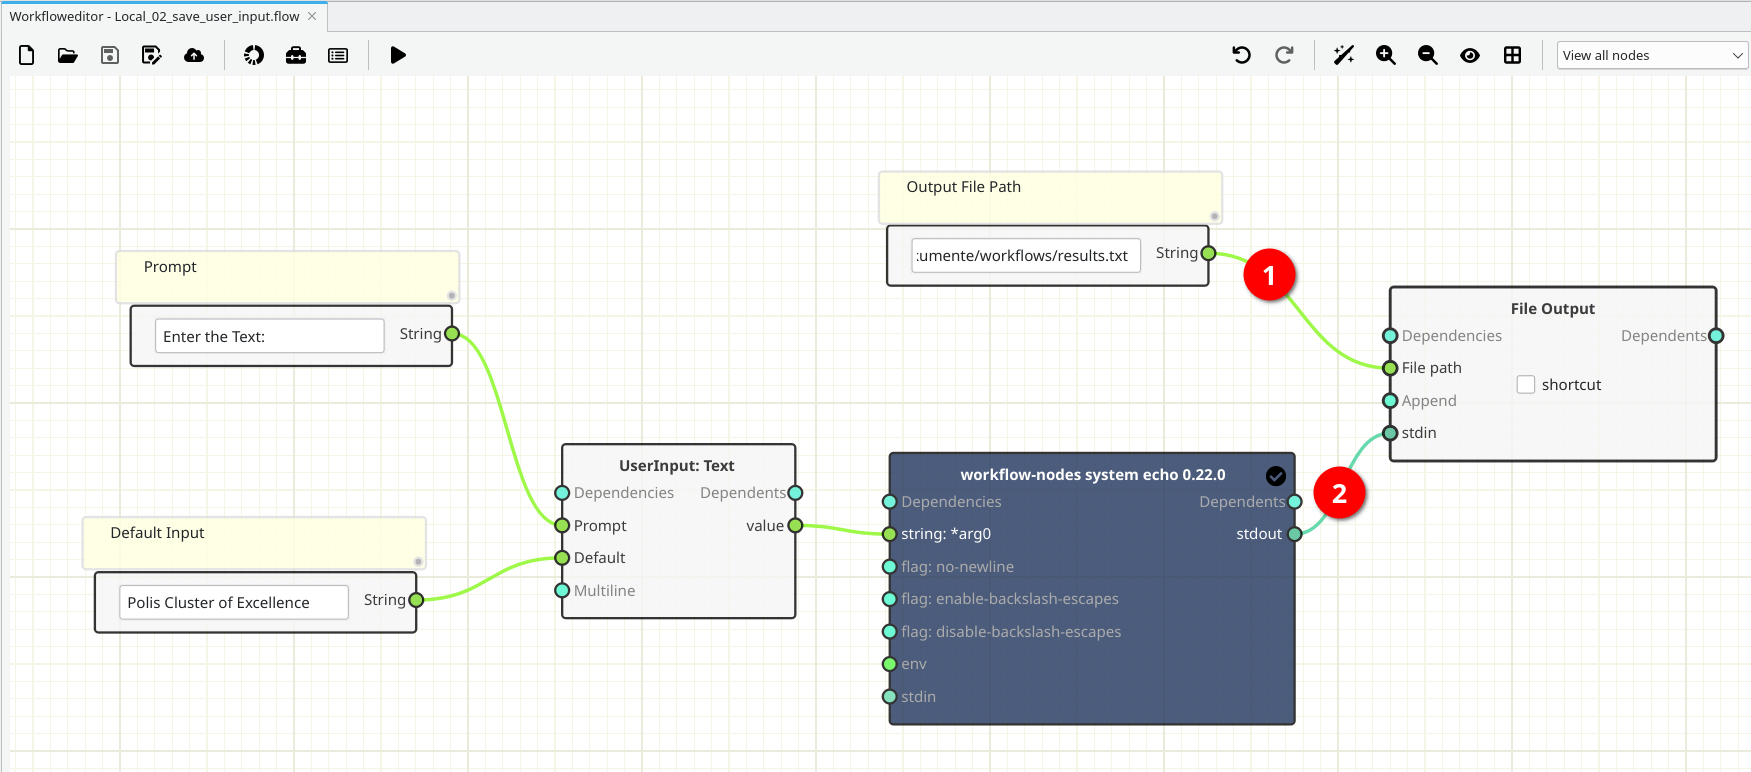
Connection
-
Pay attention to the ports colors.
- Variabls (light green)[1]
- stdin/stdout ports (dark green) [2]
Running
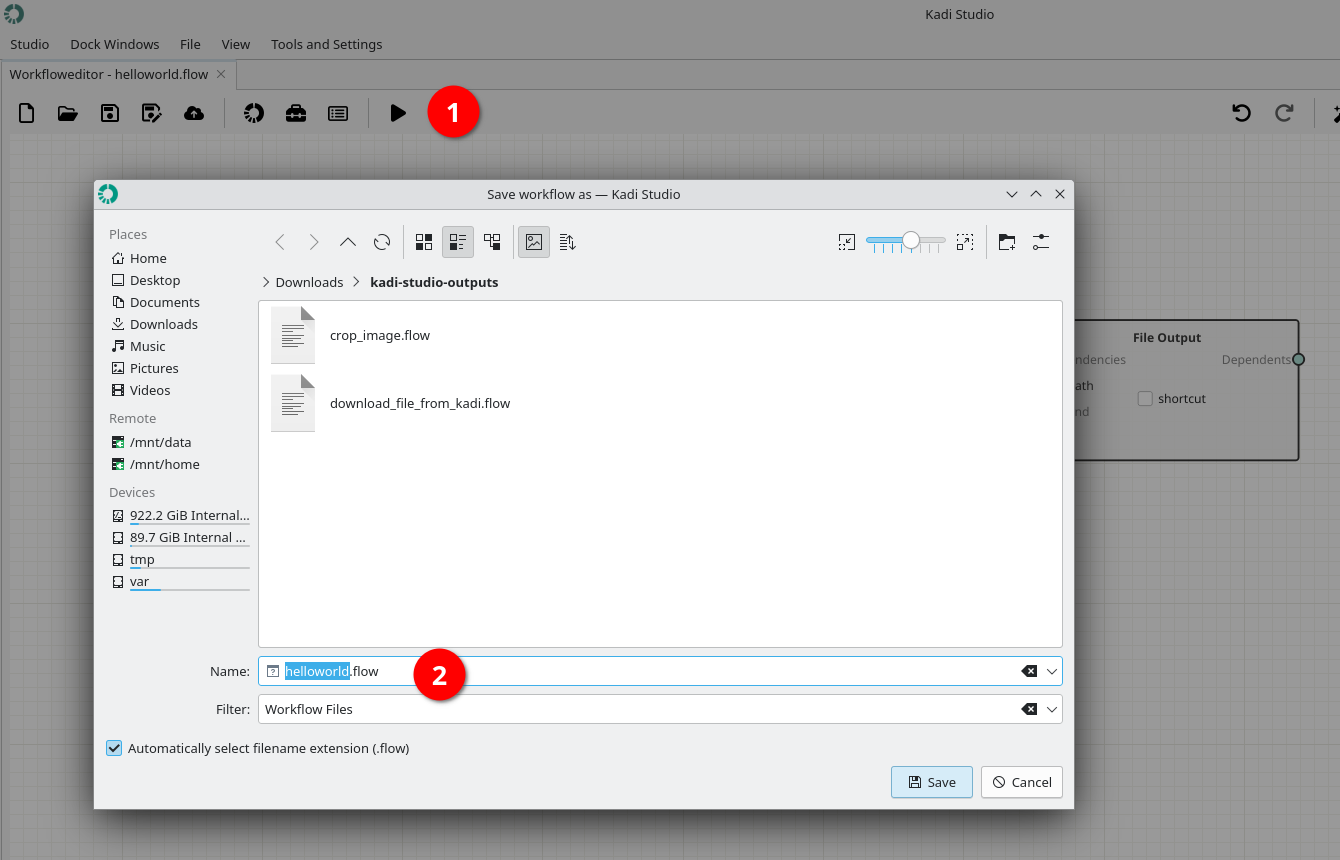
1- Save the workflow by pushing Play button.
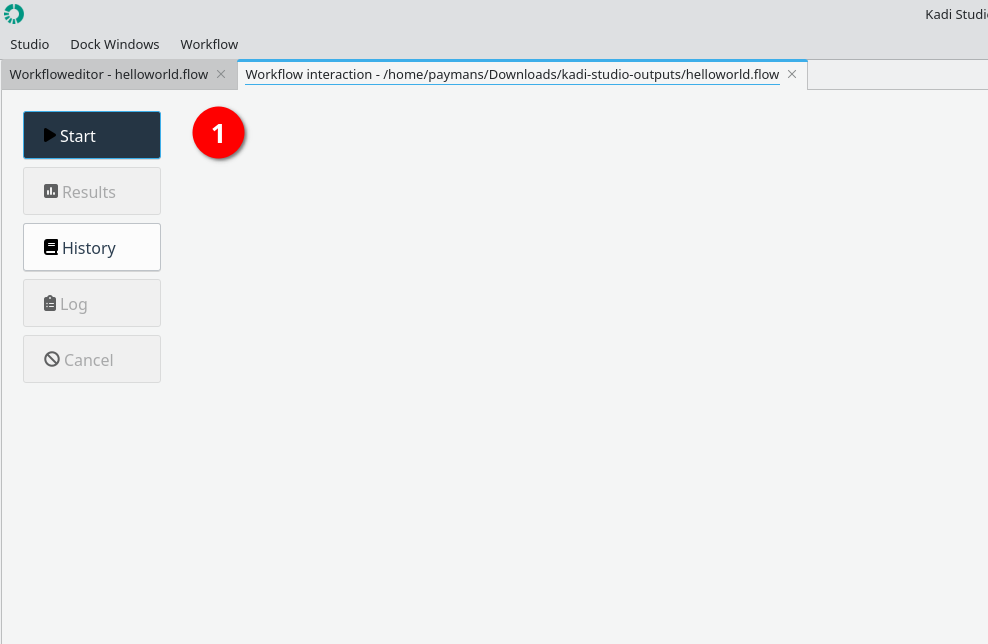
2- Start running the workflow by using Start button.
- Enter the desired text
- "Enter the Text" related to node 4
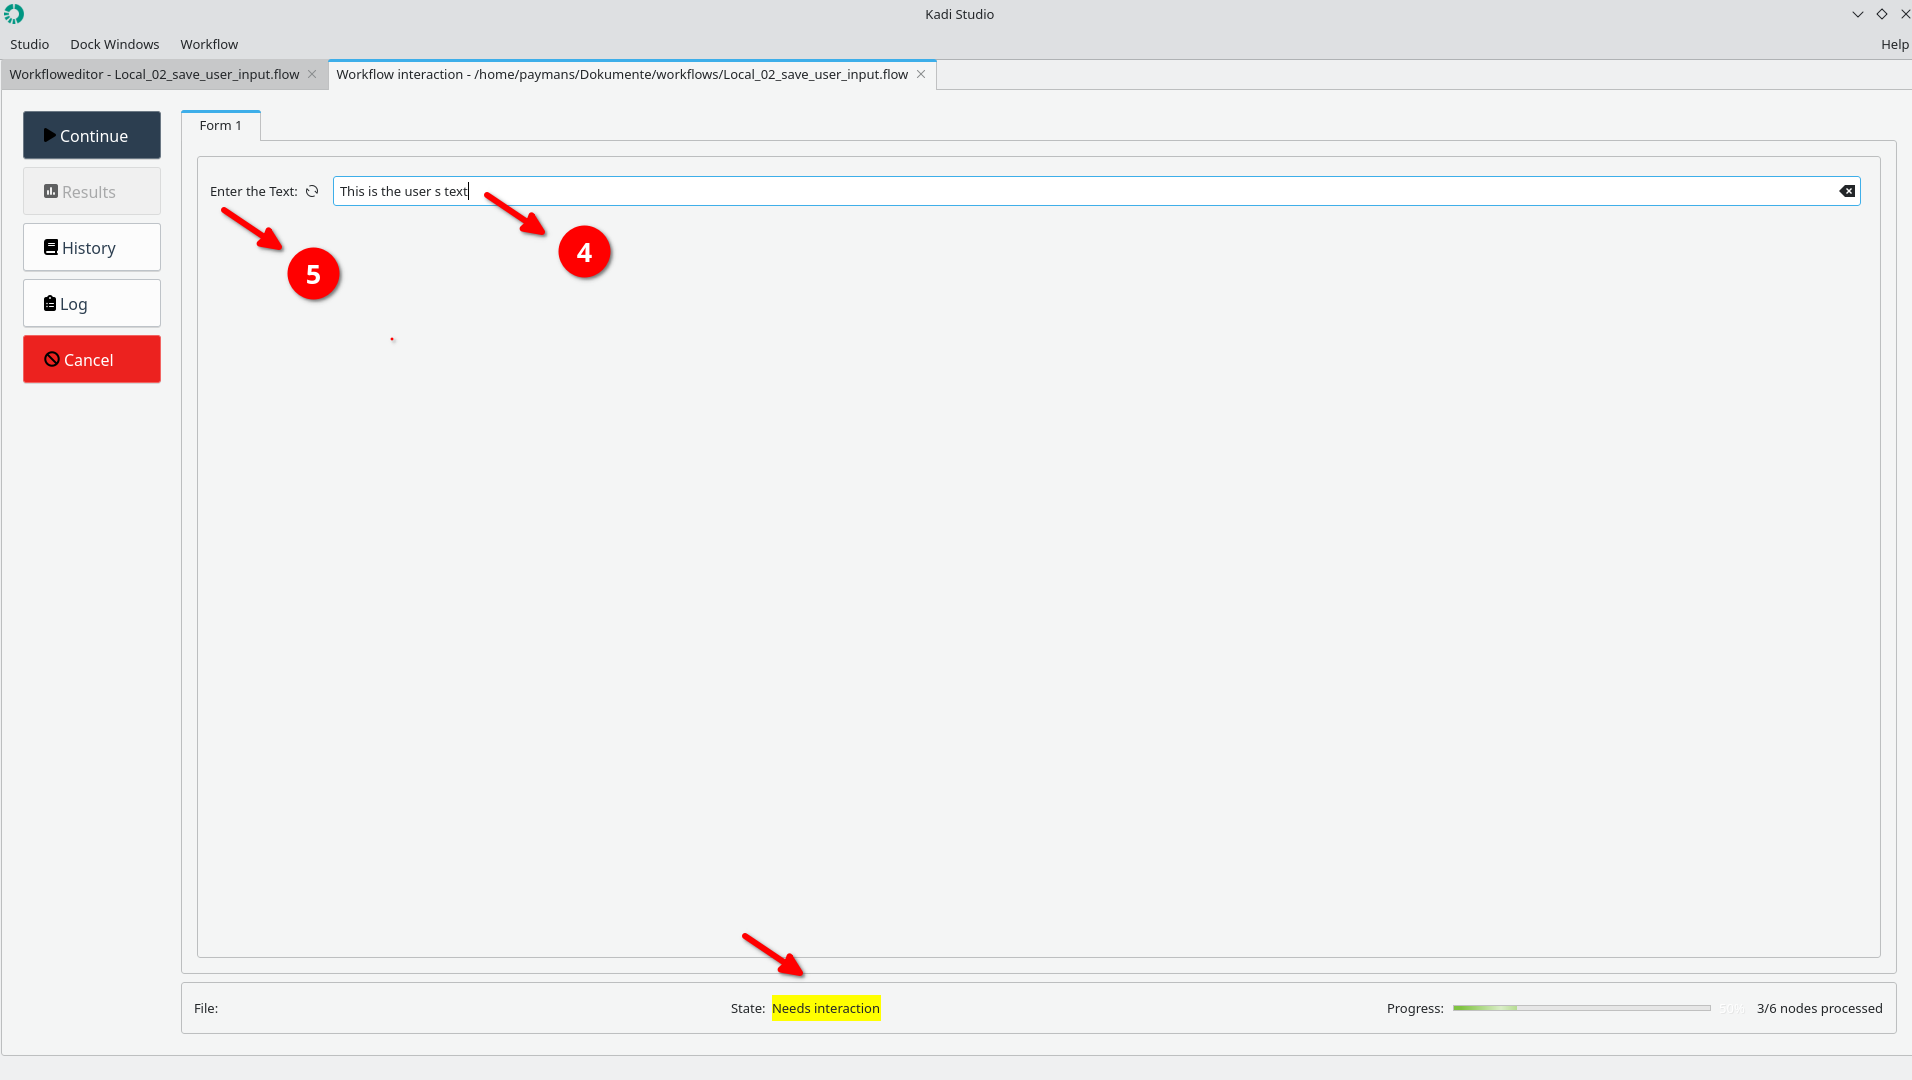
4- Status: Finished
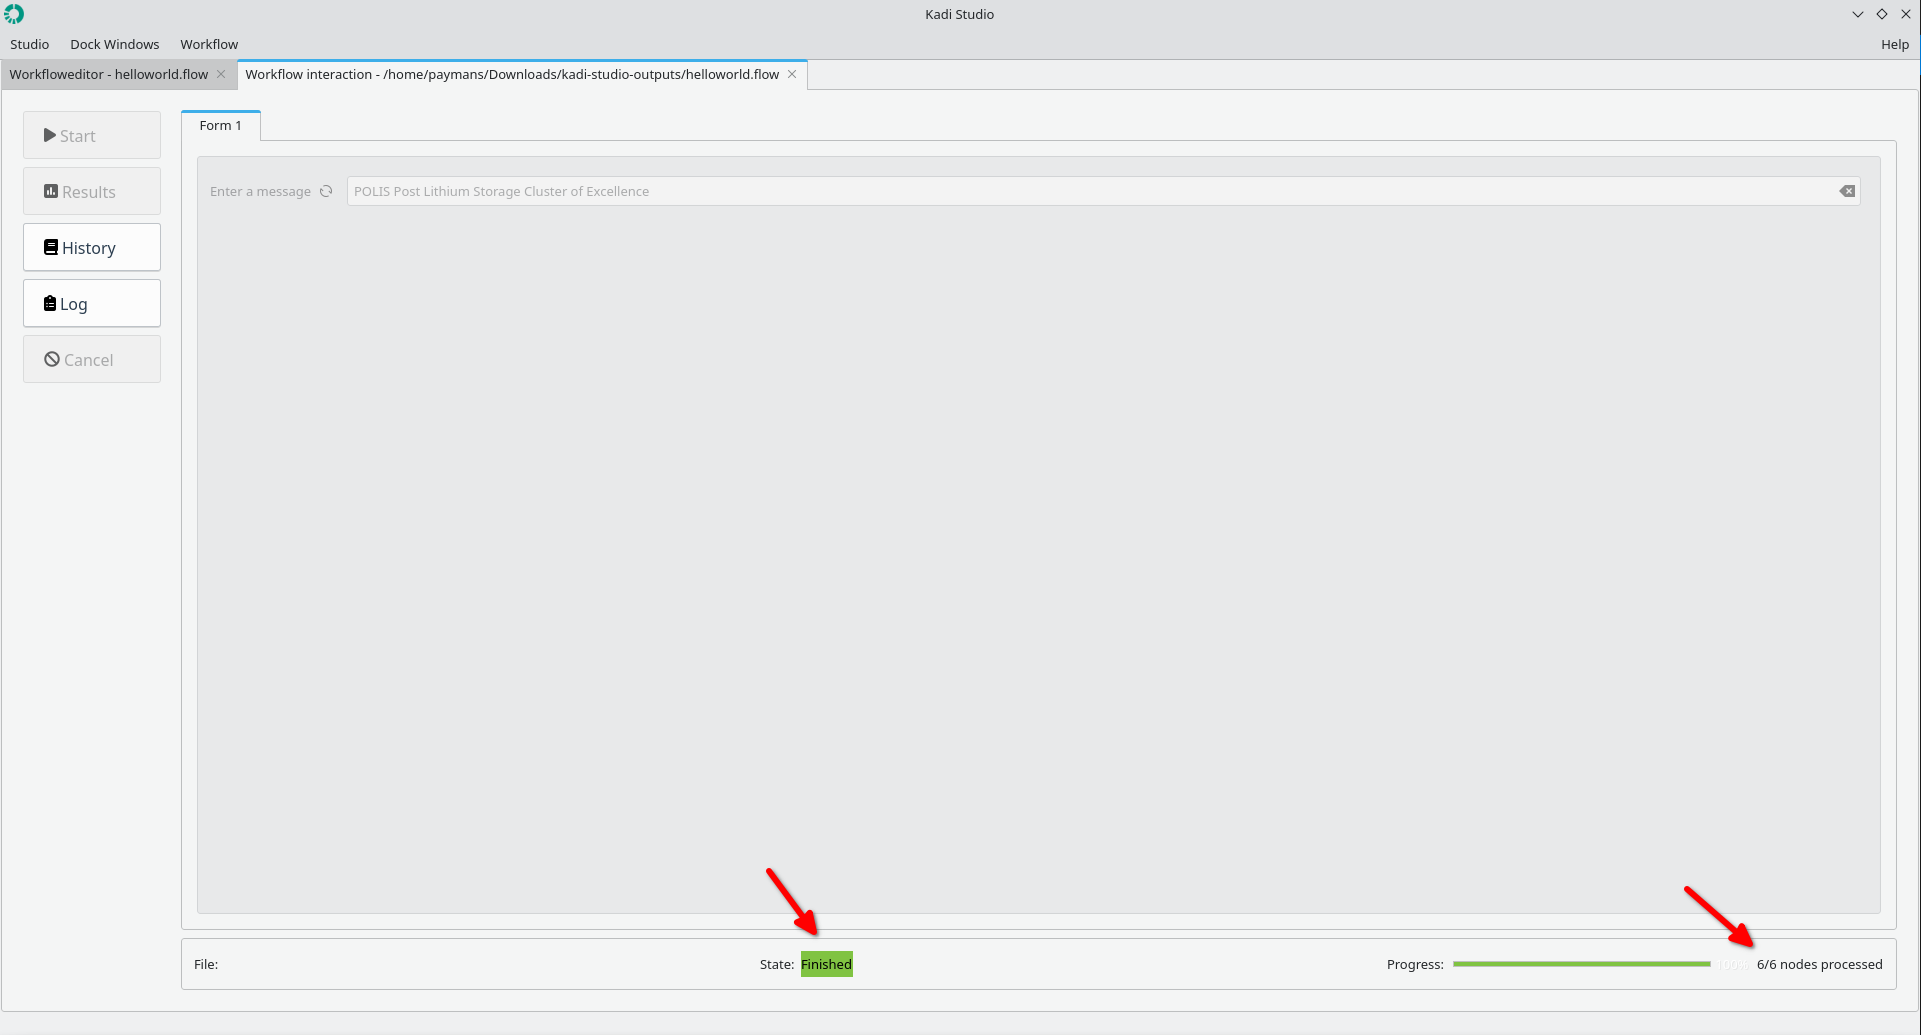
4- The user-provided text is stored in a file at the specified path.
Results
The figure below shows the results.

Done.